
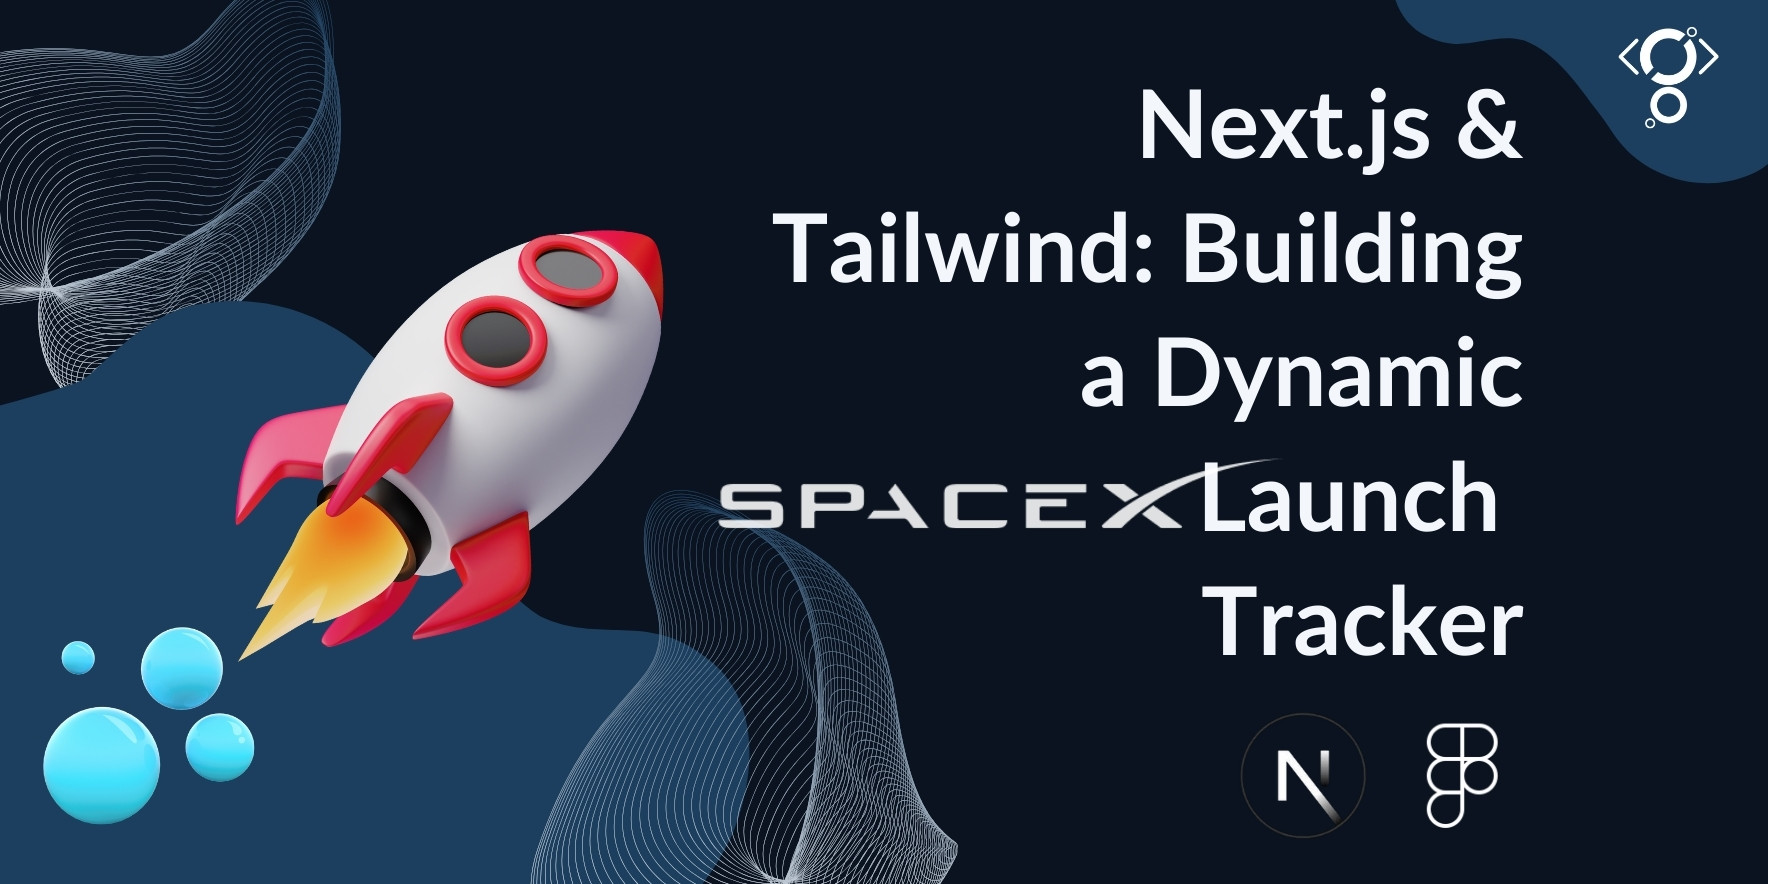
From API to UI: Building a SpaceX Launch Tracker with NextJs and Tailwind
I everyone, I recently undertook a fascinating project: building a
SpaceX launch tracker using Next.js and Tailwind CSS. The aim was to
create a clean, responsive application that pulls data from the SpaceX
API, enabling users to explore launch information and curate their
favorite launches. This project provided a fantastic opportunity to
delve deeper into Next.js's app router and the utility-first
approach of Tailwind. Let's explore the development process and
some key insights gained.
The technical test:
FRONTEND EXERCISE
The exercise consists of building an
application to view Spacex’s latest launches, and being able to
add them to a “favourite” list to revisit them later.
The
application should be developed using React 16.8.4 or further.
Expectations
On the first app load the candidate should hit the following endpoints
from SpaceX to retrieve information about rockets and
launches:
https://api.spacexdata.com/v3/rockets
https://api.spacexdata.com/v3/launches
Information about API usage can be found here:
https://docs.spacexdata.com
The candidate should combine the information to get a result similar to the following:
This is a list of functionality the candidate needs to include in the app order by priority,
there’s no need to do everything, let’s include as much as you can:
-
Fetch endpoints and merge arrays (we need to populate the rocket
data of the
launches with the rockets array)
- Display launches
- Favourite functionality (persist them on local storage)
- Search by mission name
- Inspect a specific launch detail
- Pagination
Wireframes: SpaceX Figma
Let's break down how we'll implement this SpaceX launch tracker using NextJS and Tailwind CSS. We'll follow the wireframes as a guide while adding our own modern touches to create an engaging user experience. Our focus will be on building a responsive, performant application that makes it easy to explore and track SpaceX launches.
Setting Up the Foundation - Tech Stack and Initial Steps
I started by setting up a fresh Next.js project with TypeScript
and ESLint, following the official documentation. Then came the
integration of Tailwind CSS, which proved to be incredibly efficient
for styling. I extended the Tailwind theme to match the color palette
specified in the Figma wireframes, ensuring a consistent and visually
appealing design. For custom fonts, I leveraged Next.js's localFont package to include the D-DIN font
family.
Let's start from the beginning, Installing the NextJs and Tailwind with dependencies, as it’s described by the documentation in
https://nextjs.org/docs/app/getting-started/installation
https://tailwindcss.com/docs/installation/framework-guides/nextjs
At this point we get the initial scaffolding of a nextjs app, so the next steps is install tailwind
Component-Driven UI Development
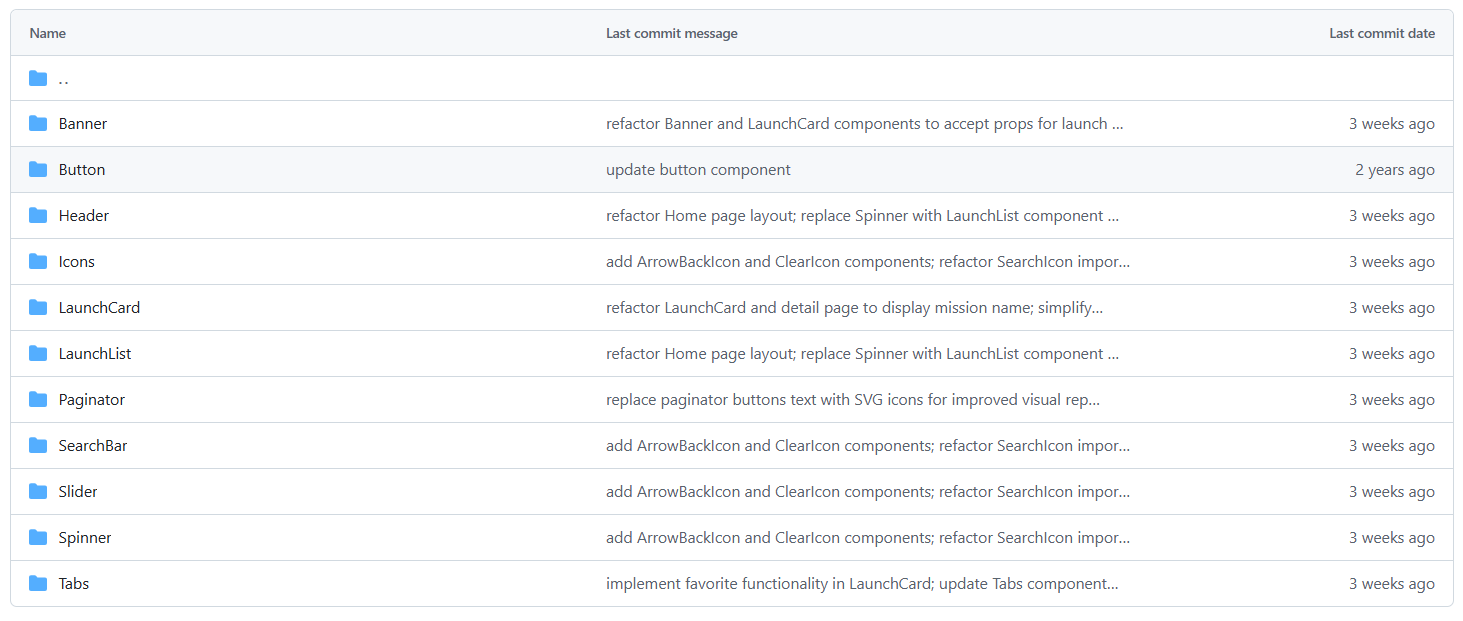
I adopted a component-driven architecture, building reusable components like buttons, icons, paginators, and tabs. This approach not only made the code more maintainable but also accelerated the UI development process. Tailwind's utility classes were instrumental in creating a clean and responsive design, allowing me to translate the Figma wireframes into reality efficiently. I paid close attention to the details of the UI, to make it as close as possible to the figma design, and still keep it responsive
Updating the tailwind config json and add the colors describe in the figma components to maintain an consisten palete color - theme:

The tailwind theme result:
To implement the fonts specified in the Figma design, use
the Next.js localFont package as shown below:
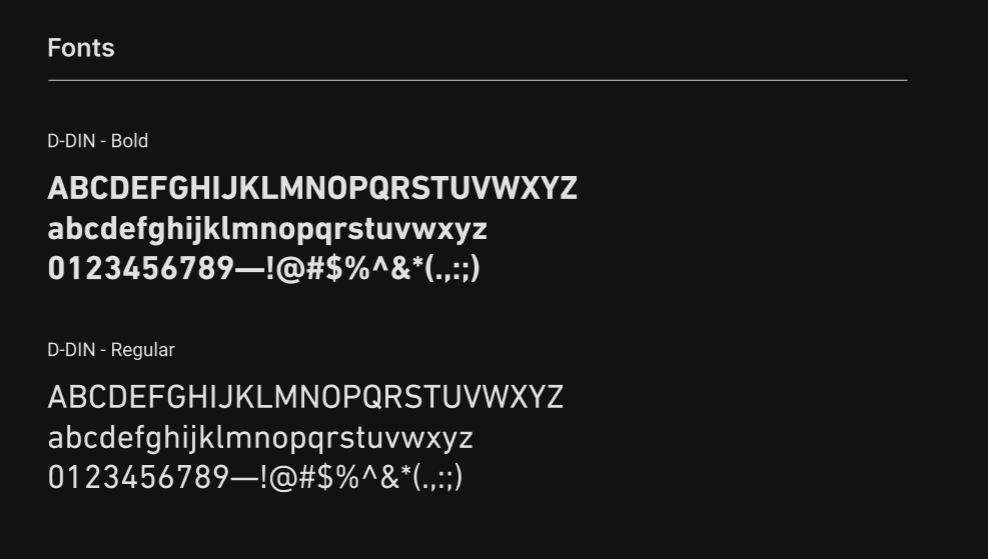
Son we need to set the D-Din Regular and Bold font, so we are going to use the nextjs font package, as following:
We have to define the global context to manage and transversal
state, here we have the minimum defined stated that the app need to
works as MVP:
API Integration and Data Management: 🚀
A crucial part of the project was fetching and merging data from
the SpaceX API. I created a dedicated fetchLaunches
function with flexible query parameters to handle various API
requests. To manage the application's state, I implemented a
global context using React's useContext hook. This
allowed for seamless data sharing across components, including launch
data, pagination, and favorites.
I defined and single function to access to the api of SpaceX:
One of the main challenges was handling API errors gracefully
and implementing robust loading states. I added error handling to the
fetchLaunches function and implemented loading
indicators to provide a smooth user experience. Additionally, I
focused on optimizing the pagination logic and search functionality to
ensure efficient data retrieval and filtering. Managing local storage
for favorites was another key aspect, requiring careful serialization
and deserialization of data.
Components
I develop the commons components for this app, that includes Buttons,
Icons, Paginator, Tabs, ect.
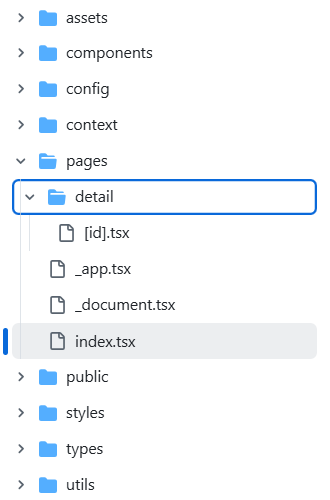
At this point we have everything that we need to start the UI development, so I define 2 main pages: Home with the list of Launches that we obtain from the API with a search input to filter the results, pagination and two tabs with results and favorites and the Details Page to show the details of the Rocket of the Launch selected.
Using Tailwind to define the UI
The most important thing I learned this time is just get fun while use
predefined tailwind classes to develop the UI of the app, it’s fun and
easy (Once you understand it lol), for example look at how I define
the background defined on theme config:
Learnings and Takeaways:
This project reinforced the power of Next.js and Tailwind CSS in
building modern web applications. The app router of Nextjs is very
powerful, and easy to use. I also gained valuable experience in API
integration, state management, and component-driven development. I
learned that having a well defined type system using typescript is
very important to avoid bugs. I also learned to use tailwind
efficiently, and how fast I can create a UI that looks great. I'm
excited to apply these learnings to future projects.
Feel free to explore the project on
spacex-launches-webapp.
I deployed the app on Vercel, you can check it out here.
I'm always open to feedback and collaboration. If you're
a recruiter or potential client looking for a developer with
experience in Next.js, Tailwind CSS, and API integration, let's
connect!